Struggling to price arches & garlands? This NEW simple calculator does the math for you.
- Home
- Table Bases
- Balloon Sand Weight
How to Make a Balloon Sand Weight
Learn how to make this elegant balloon sand weight, dressed up with tulle, cellophane and curling ribbon.
It's an ideal table base to use as an anchor for helium-filled balloon centerpieces, like our Balloon Bouquet "Simple and Elegant." Inexpensive and easy to make. Let's go!
If you make a purchase through a link on my site, I may receive a small commission at no extra cost to you. I only recommend products that I believe to have good value (affiliate disclosure).
What you need for this balloon sand weight:
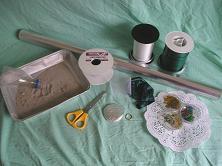
- 11" high quality pearlescent latex balloons, color of your choice (in our example we used 'Qualatex' pearl teal),
- color matching and white curling ribbon (5 mm | 3/16 inches wide),
- clear cellophane (40 cm | 16 inches wide),
- white tulle (5 cm | 2 inches wide)
- small metal or plastic ring (1.5 cm | 0.6 inches diameter),
- self-made small 'cake base' (8 cm | 3 inches diameter),
- self-made funnel,
- fine grade dry sand and
- optional: decorative metallic confetti and tulle or paper doilies.
Step 1: Fill the Balloon with Sand
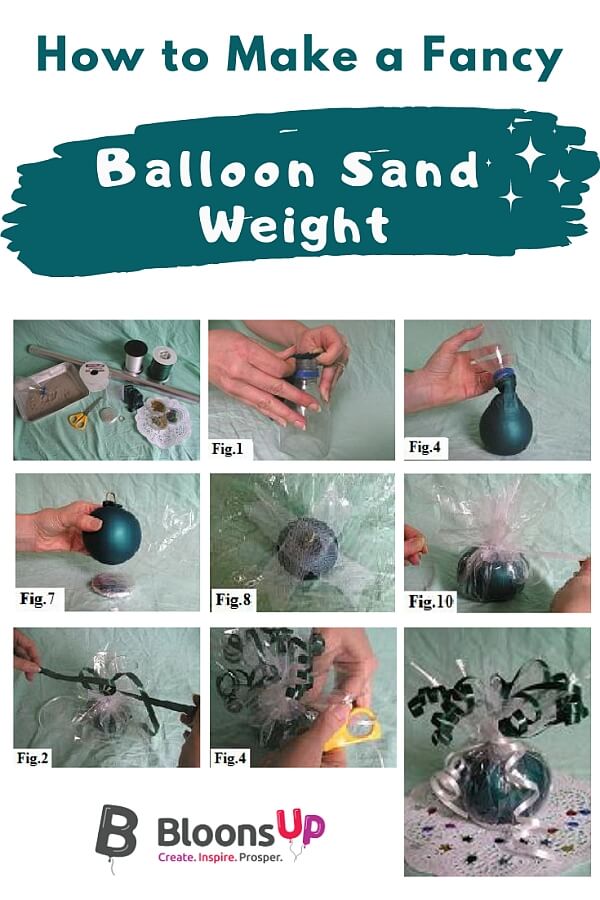
The easiest way to fill your balloon with sand is to make your own funnel from an empty 500 ml plastic coke bottle. The size of its neck is ideal for both stretching open the neck of the balloon and for pouring in sand quickly.
Carefully cut the bottle and leave yourself roughly 8 cm (3 inches) at the neck end.
Before you fill the balloon with sand, you need to pre-stretch it by blowing it up to approximately half it's normal size and letting the air out again.
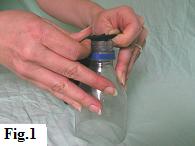
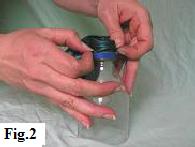
Now take the balloon neck between your thumbs and index fingers whilst using your remaining fingers to steady the upturned funnel (fig. 1). Then slip the balloon neck over the neck of the bottle (fig. 2).
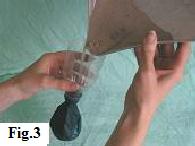
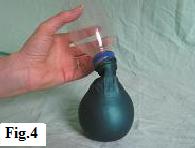
Upturn the funnel and begin filling the balloon with sand (fig. 3). Fill the balloon up to the size of a tennis ball (fig. 4).
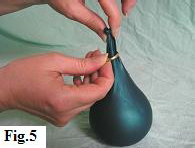
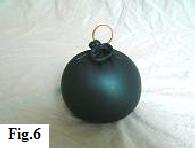
Next, remove your funnel and slip the small metal or plastic ring over the balloon neck (fig. 5). Then tie a knot, being careful to expel any trapped air from the balloon (fig. 6).
Step 2: Dress the Balloon Sand Weight with Tulle and Cellophane
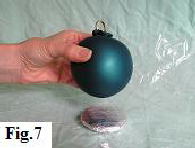
Cut a square of cellophane (40 x 40 cm | 16 x 16 inches), snip off the corners and lay it on a flat surface. Then place your home made cake board in the center of the square and put the sand filled balloon on it (fig. 7).
Next cut two 25 cm (10 inches) lengths of tulle and cut a slit in the center of each of them, just big enough to slip over the ring. They should be placed beneath the knot of the balloon and positioned in the shape of a cross.
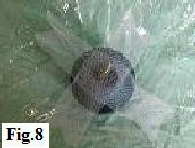
Finally cut a V-shape on the four ends of the tulle (fig. 8).
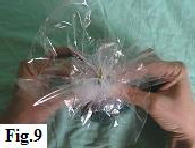
Carefully gather up the cellophane towards the ring, making sure that the tulle is in an upright position (fig. 9).
Once you're happy that it's folded in evenly, take approx. 60 cm (24 inches) of white curling ribbon and tie off the cellophane with two knots.
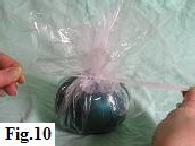
It's important that the securing ribbon is tied below the ring (fig. 10).
Step 3: Add Finishing Touches to Your Balloon Sand Weight
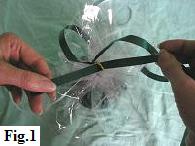
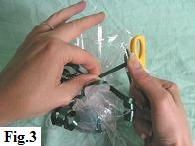
Take two 60 cm (24 inches) lengths of the color matching curling ribbon and pass them through the ring (fig. 1). Tie them in the middle with two securing knots (fig. 2).
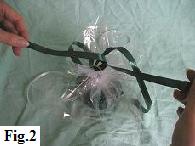
Taking each ribbon in turn between your thumb and index finger, curl the ribbons with your scissors. You'll find this process easier if you hold on to the ring (fig. 3).
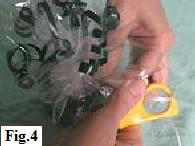
When you've completed this, take a 60 cm (24 inches) length of white curling ribbon and tie it around the neck of your base, again using two securing knots. Then curl the white ribbons with your scissors (fig. 4).
Your balloon sand weight is practically finished. The ends of the ribbons which attach your balloon bouquet will also be curled and give the crown of your base a much fuller effect.
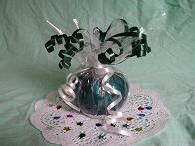
One optional decorative touch that you may add is to place your base on a tulle or paper doylie and for a final flourish, sprinkle on some nice metallic confetti. In our example we used a paper doylie and multi-colored, metallic balloon shaped confetti.
Your balloon base is completed. Now, are you ready to start creating your Balloon Bouquet "Simple & Elegant"?


![Balloon Drop at a Party [Image Source: Eventbrite.com]](/image-thumbnails/how-can-i-make-a-balloon-drop-for-a-wedding-and-is-there-a-way-of-releasing-them-21850402.jpg/default.webp)
![Balloon Heart Frame [Image source: Aliexpress.com]](/image-thumbnails/where-can-i-buy-balloon-heart-frames-21973261.jpg/default.webp)
Have your say about what you just read!
Leave me a comment in the box below. Don't see the comments box? Log into your Facebook account, give Facebook consent, then return to this page and refresh it.