Struggling to price arches & garlands? This NEW simple calculator does the math for you.
- Home
- Balloon Arches
- Balloon Arch Step By Step
Balloon Arch Step by Step Tutorial: How to Make a 'String of Pearls' Arch
Looking for an easy balloon arch step by step tutorial for beginners? Look no further.
We show you how to make this fun and festive 'String of Pearls' arch. It's perfect for creating a stunning entrance or framing the head table at a wedding reception, graduation or birthday party.
If you make a purchase through a link on my site, I may receive a small commission at no extra cost to you. I only recommend products that I believe to have good value (affiliate disclosure).
How many balloons does it take to make this balloon arch?
Great question! Calculate your balloon arch length and how many balloons you need with our simple balloon arch calculator.
Balloon Arch Step by Step: What You Need
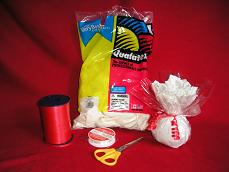
- 11" high quality latex balloons, color of your choice (in our example we used 'Qualatex' white),
- red mylar heart balloon (optional; depending on your theme, you may choose a different mylar balloon)
- curling ribbon (5 mm / 3/16" wide)
- clear fishing/nylon line (0.5 mm strong),
- two pre-prepared bases,
- helium,
- balloon sizer and
- a good pair of scissors.
Special Tip:
The bases here are the same design as used for the balloon bouquet 'Simple & Elegant', just a bit bigger, roughly 9cm diameter.
Step 1: Attach the Fishing Line to the Base
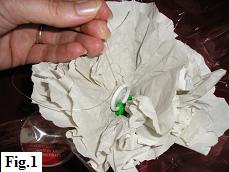
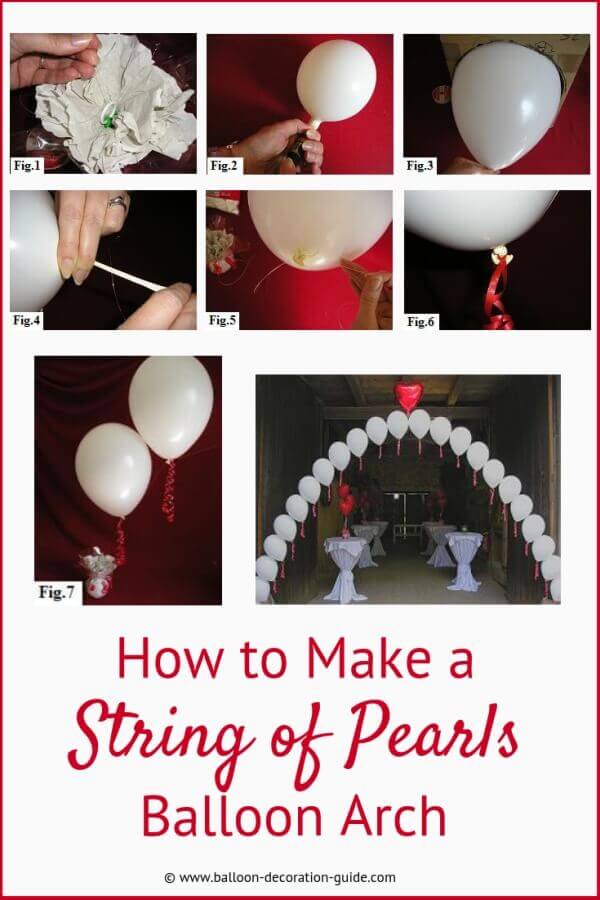
Take one end of the nylon line, pass it through the hoop on one of your pre-prepared bases and tie it with two or three securing knots (fig. 1).
Unroll as much of the line as you need, but don't cut it at this point, until you have all your balloons attached. Not only will it make the arch easier to handle, but you also eliminate the risk of winding up short on the length.
As the old carpenters saying goes: "You can always cut it off, but you can't put it back!"
Special Tip:
Unless you have an assistant to hold the other end of the line, stretch it out between two chairs and temporarily tie it off. This will save you wrestling with the line as you're attaching your balloons and give you a comfortable working height.
Step Two: Inflate the Balloons and Attach them to the Line
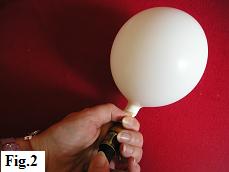
Take the first of your balloons and inflate it with helium, keeping a firm grip around the neck (fig. 2). Check its size with your balloon sizer and inflate or deflate as needed (fig. 3).
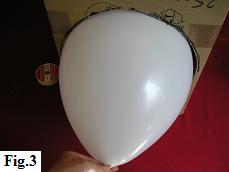
Now comes the tricky part in this balloon arch step by step tutorial -- knotting the balloon directly onto the line.
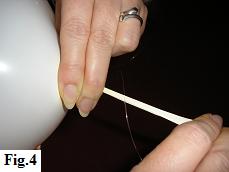
If you've already looked at our tip how to tie a balloon knot, it's pretty much the same except that as you stretch out the neck the line should be running over the top of it (fig. 4).
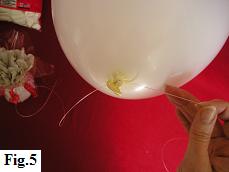
And as you start tying, the knot will form around the line (fig. 5). Sure, it's a bit fiddly, but by the time you come to your last balloon you'll be doing it like a 'pro'!
Step Three: Add the Remaining Balloons and Curling Ribbons to Your Balloon Arch
Position your first balloon on the nylon line about 10 to 15 cm (4 to 6 inches) above the base. If you wet the nylon line with your fingers, you'll find the balloon slides along very easily.
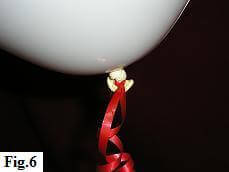
Take about 1 m (3.3 ft) of your curling ribbon and tie it to the neck of the balloon, so that you are left with two equal lengths hanging from it (fig. 6). Now curl the ribbons, using the open blades of your scissors.
We recommend doing this for each balloon as you go along, but you may prefer to wait until all the balloons are attached.
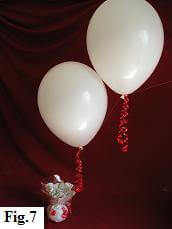
Inflate and attach your second balloon as explained in step two. Then position it so that it's just touching the first balloon (fig. 7).
Balloon Arch Step by Step: Finishing Touches
Repeat steps two and three for all your remaining balloons. Your 'String of Pearls' arch is almost finished.
All you need to do now is to cut the nylon line from the roll, leaving about a meter (3.3 ft) to play with and attach it to the second base with a temporary knot.
With your balloon arch decoration in its final position, stand back and check that you're happy with the height and the spacing of the balloons.
Make any adjustments, if necessary, and then tie your securing knots on the base.
Special Tip:
There are many ways to add extra touches. In our example we crowned the archway with a red mylar heart to tie in with the theme of this decoration.
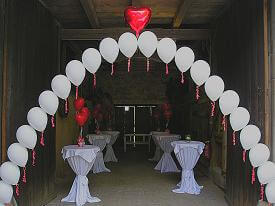 String-of-Pearls Arch for a Wedding Reception in a Barn
Congratulations! You've created a beautiful floating 'String of Pearls' arch, that's sure to impress your guests.


![Balloon Drop at a Party [Image Source: Eventbrite.com]](/image-thumbnails/how-can-i-make-a-balloon-drop-for-a-wedding-and-is-there-a-way-of-releasing-them-21850402.jpg/default.webp)
![Balloon Heart Frame [Image source: Aliexpress.com]](/image-thumbnails/where-can-i-buy-balloon-heart-frames-21973261.jpg/default.webp)
Have your say about what you just read!
Leave me a comment in the box below. Don't see the comments box? Log into your Facebook account, give Facebook consent, then return to this page and refresh it.